In this article, I’ve described how to deploy website using Google App Engine.
Netlify is another great web hosting provider.
Below are the most outstanding benefits of Netlify:
- Free!
- Publishing is as easy as click click click
- Links with repository hosting service which supports Git
If you want the site to be more stable and customisable, I’d prefer GAE.
This article describes how to deploy blog created using Hugo.
Prerequisites
Create your own website.
To create website using Hugo, follow this link.
Upload to repository hosting service
Upload the files to your repository.
Netlify supports following hosting services:
- GitHub
- GitLab
- Bitbucket
I’d recommend Bitbucket. Not only because I’m Australian, but because you can create private repository for free!
Publish to Netlify!
Create your account at Netlify page.
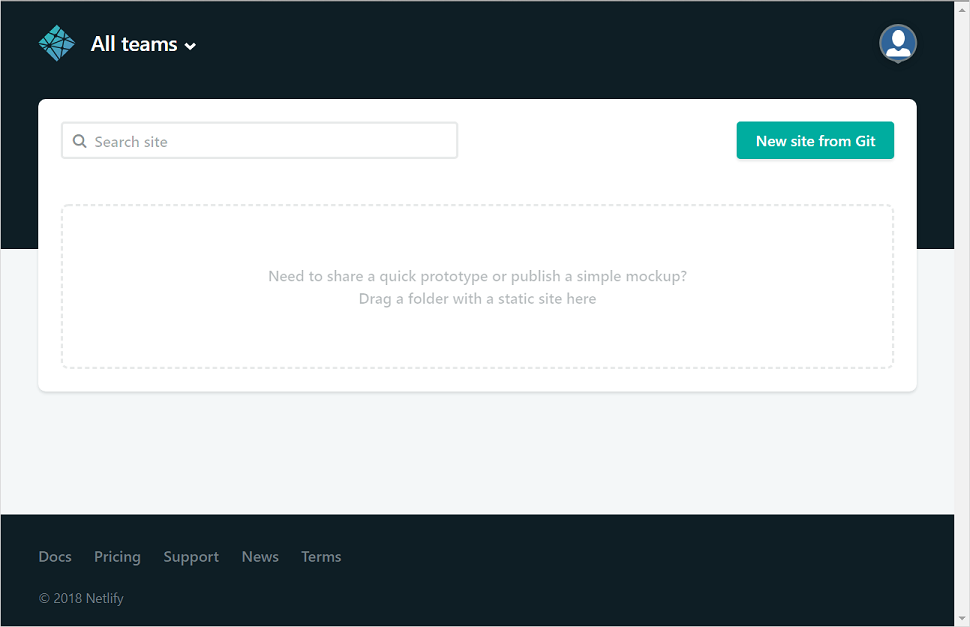
Login. Press [New site from Git]
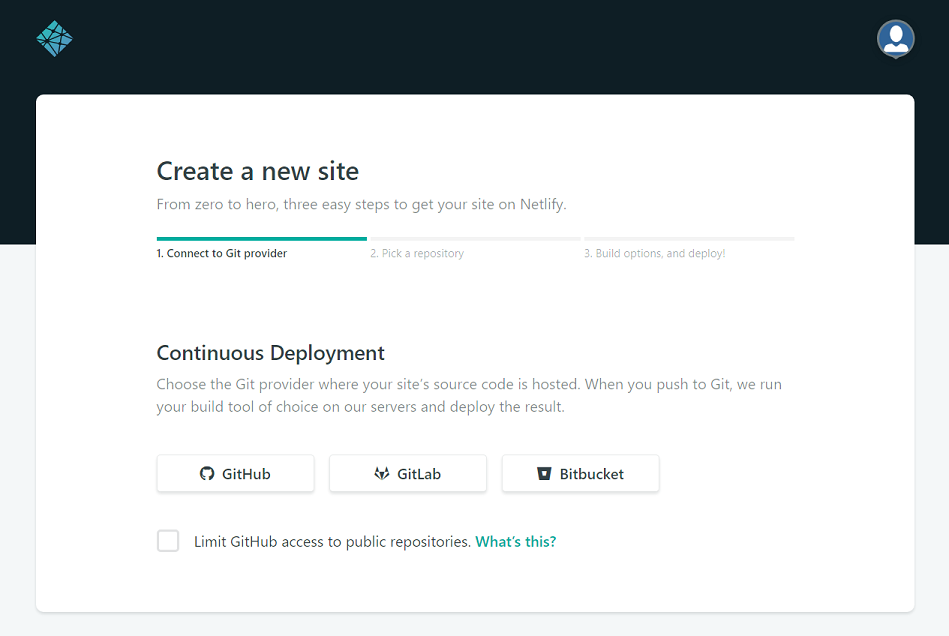
Click [Bitbucket] (or other hosting service)
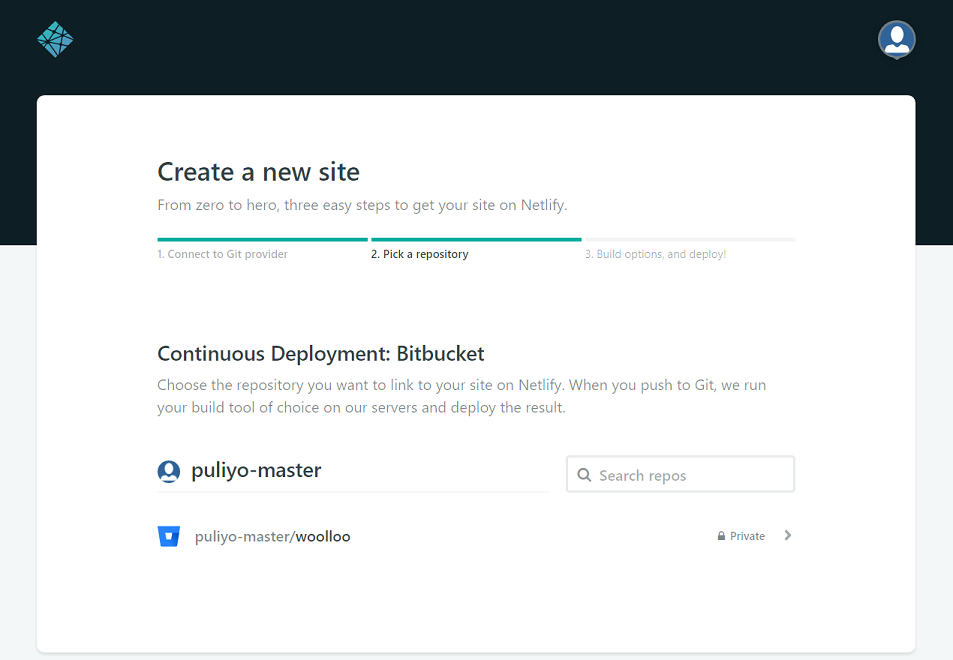
Choose your repo
Select the branch you want to build and deploy
I’ve selected
netlifybranch.As my website is created using Hugo, the Build command is
hugo.Hugo will generate web contents to public folder, hence Publish directory is set to
public.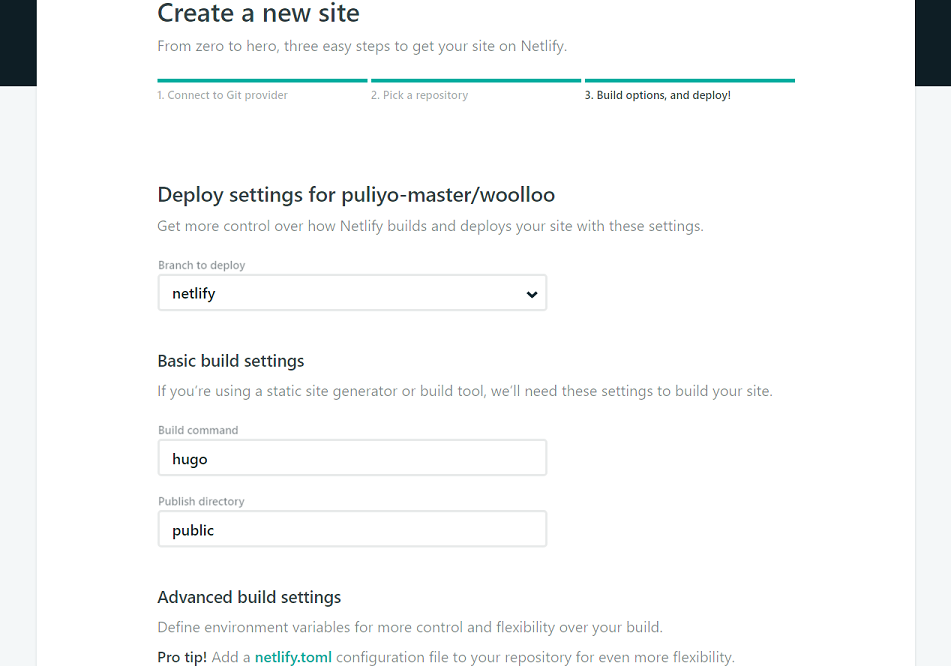
Hit [deploy site] and you’re site is ready!
Access https://<subdomain>.netlify.com to see your site online.
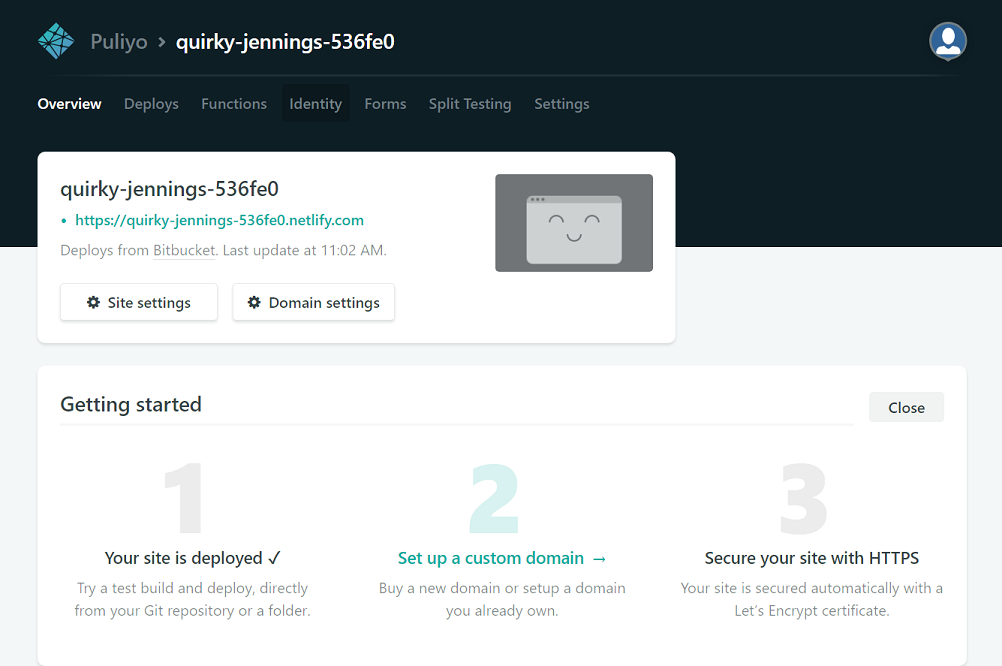
Netlify will automatically generate their subdomain. You can change the name of subdomain through [Site settings]
If you want to map your own domain to Netlify subdomain (your generated site), proceed to [Domain settings]
Add CNAME from your domain to netlify subdomain.
For me, it will be like below:
netlify CNAME quirky-jennings-536fe0.netlify.com.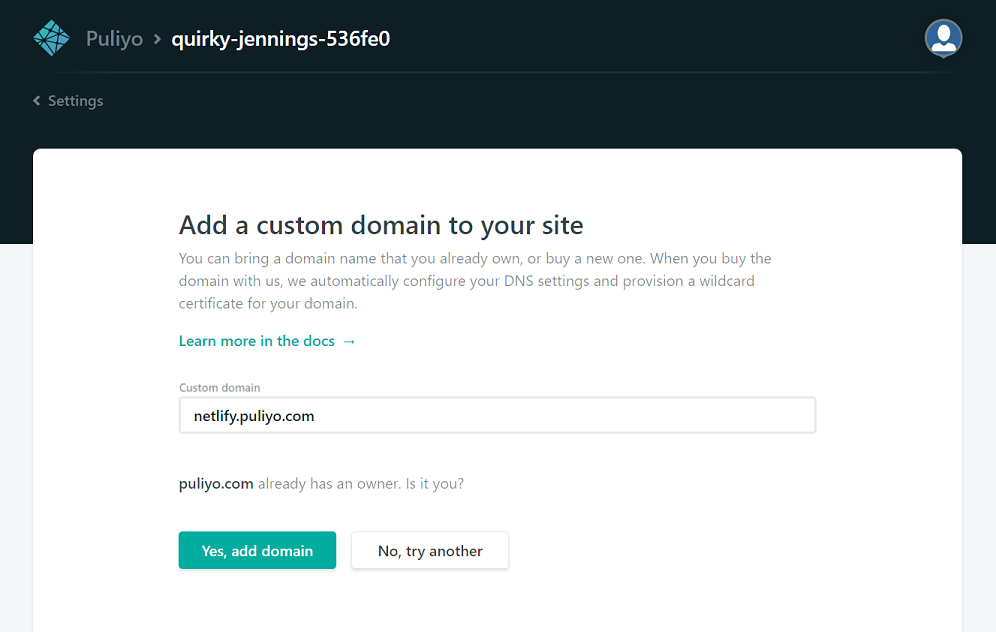
When domain is properly configured, you can verify and enable https from the verify button at the bottom of the page